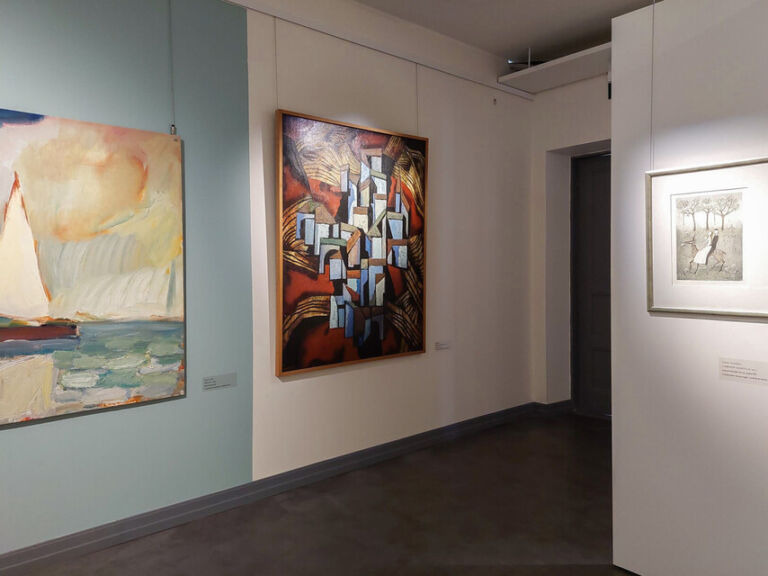
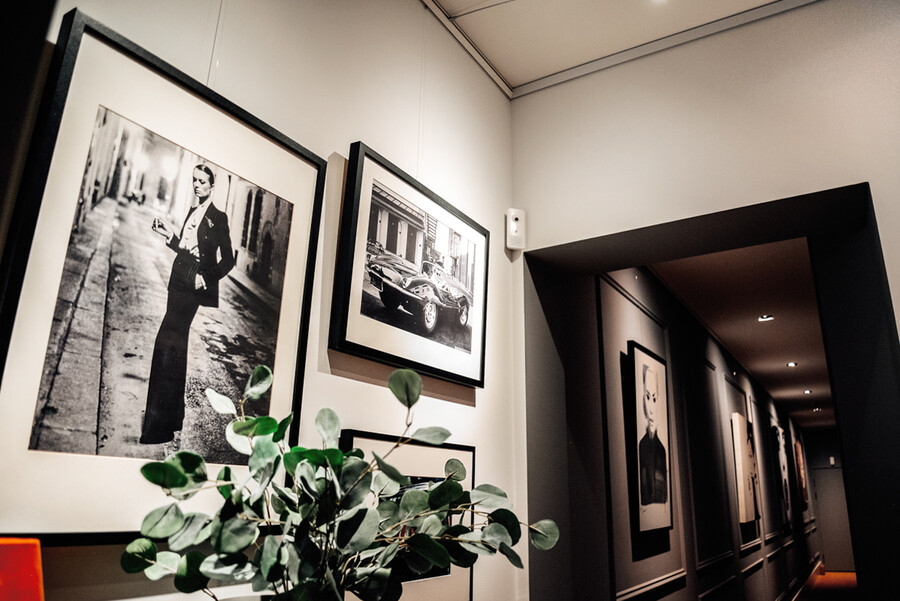
Darac is the official Irish distributor of Artiteq picture hanging systems. We understand that, if you are not familiar with the Artiteq range, it can be difficult to know exactly which products and quantities you need.
To make ordering a little easier, we have created this simple step-by-step guide. It will help you work out how many rails, fixing packs, perlons and hooks are required to create a complete picture hanging system suited to your space.
1. Measure the Walls
Measure each uninterrupted stretch of wall where you would like to install the hanging system.
Artiteq rails come in 2-metre lengths and can be cut to fit. Round each separate stretch of wall up to the nearest 2 metres to calculate the number of rails required.
For example, a 3.5-metre wall will require two 2-metre rails. However, two separate walls measuring 3 metres each will require four rails rather than three, unless the offcut from the first section is suitable for the second.
Where practical, the rail can be installed as one continuous run above windows and doors. The section above the opening does not need to be used for hanging pictures, but continuing the rail across it may make installation simpler and create a neater, more consistent finish.
Each section of rail must be fixed at a minimum of two points. If attaching the rail to a stud wall, the shortest possible section will therefore be the distance between two studs.
2. Add fixing packs
For every 2-metre rail, add one fixing pack.
Each fixing pack contains the wall-mounting components needed to install the rail, together with end caps and corner connectors for a neat, finished appearance.
If a 2-metre rail is being cut into two or more separate sections to fit smaller spaces, you may need additional fixing packs. Each separate section requires its own wall-mounting components and may also require additional end caps, depending on the layout.
3. Add perlons
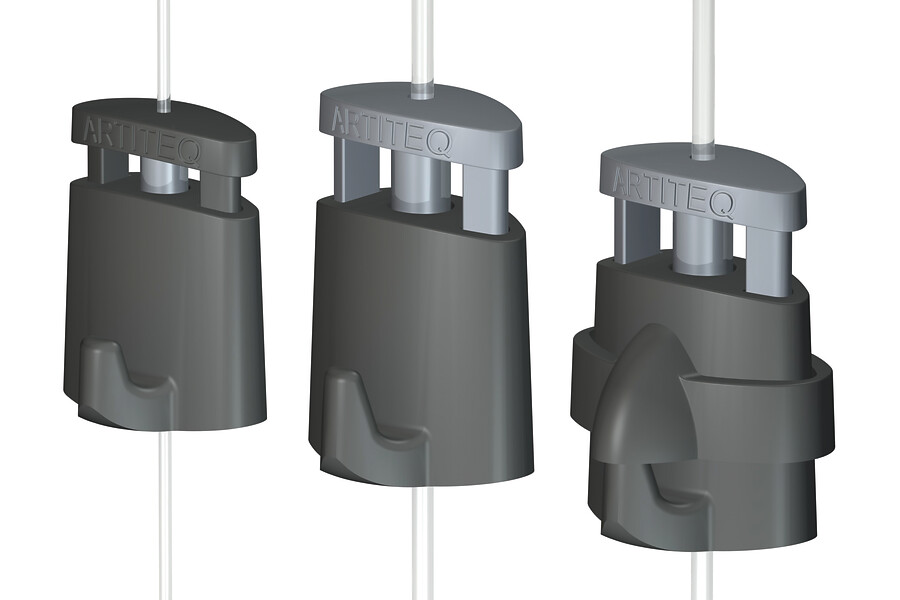
As a general guide, allow one perlon for every metre of rail. You can increase or reduce this quantity depending on the number and arrangement of pictures you wish to hang.
Each perlon is 2.5 metres long. Any excess can be rolled neatly behind the picture and secured with tape, rather than cut off, allowing the perlon to be reused later for pictures hung at different heights.
The perlons are clear and, once pulled taut against the wall, become almost invisible.
4. Add hooks
As a general guide, allow one hook for each perlon.
This can be adjusted to suit your requirements. For example, more than one hook can be used on a single perlon when hanging several pictures vertically, provided the relevant weight limits are not exceeded.
Security hooks are also available where additional protection against the unauthorised removal of pictures is required.
Example order for a 6-metre wall
3 × 2-metre rails
3 × fixing packs
6 × perlons
6 × hooks
Quantities of perlons and hooks can be changed to suit the number, size and arrangement of the pictures or objects being hung.
Example order for two 3.5-metre wall sections
4 × 2-metre rails
4 × fixing packs
8 × perlons
8 × hooks
Quantities of perlons and hooks can be changed to suit the number, size and arrangement of the pictures or objects being hung, but two perlons & hooks are required for most items to balance on the wall.